Before running through this guide, it is expected that you have read the best practice guideline here
Upgrading your version of Yellowfin is an easy process. Before getting started, there are a few steps that will need to be taken, and slightly differs if starting from a release of 7.2 or older.
If using 7.2 or older, please first upgrade to the latest 7.2 release before upgrading to 7.3 or above.
First, shut down the Yellowfin server.
- If you are running Yellowfin as a Windows service, stop the service
- If you are running Yellowfin from the Windows Start Menu, please select "Stop Yellowfin Server" from the Start Menu.
- If you are running Yellowfin from the Windows command line, please run Yellowfin/appserver/bin/shutdown.bat
- If you are running Yellowfin a Linux command line, please run Yellowfin/appserver/bin/shutdown.sh
Second, and most importantly, back up all pertinent data before initiating the upgrade process. This especially includes your system’s Yellowfin Configuration Database. In the unlikely event that something goes wrong with the installation, this backup will be invaluable to rolling back and restoring your system.
Third, download the desired upgrade installer from the 'Software Downloads' section within the Support Centre.
If you don't have a login, or having troubles logging in, please see How to get a login to the Yellowfin website
When you are ready, launch the Update Installer.
Upgrading to Yellowfin versions prior to 9.0
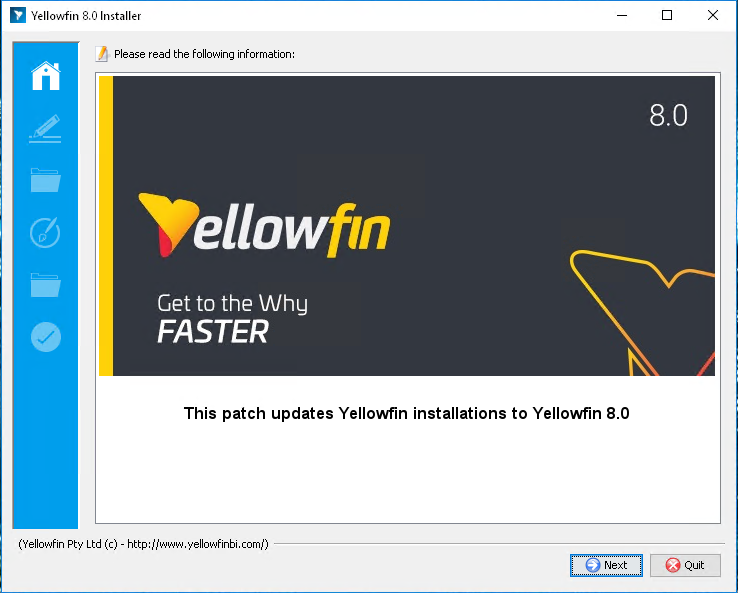
The welcome screen is the first screen in the installation process. It informs you what version of Yellowfin you are updating to. Click the Next button to continue, or click the Quit button at any time to exit the installation process
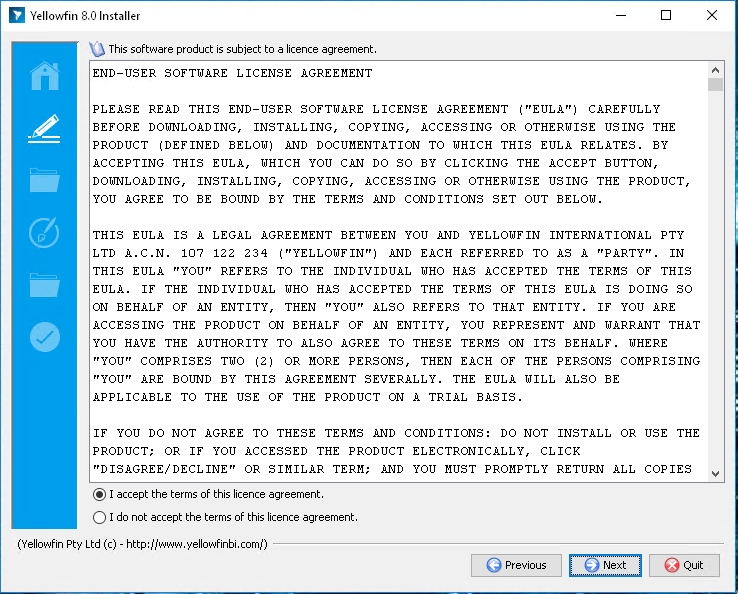
The terms and conditions page displays the Yellowfin Software Licence agreement.
When you have read the licence agreement check the "I accept the terms of this licence agreement" radio button to agree and click the "Next" button to continue.
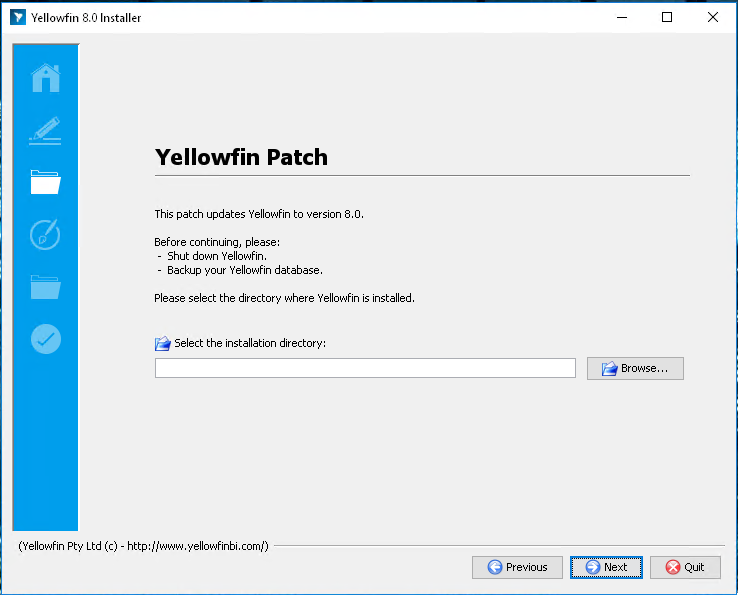
You will have to define the installation directory for your current version of Yellowfin. This will default to different directories based on the operating system you are installing to. When you have chosen your the root folder of your Yellowfin installation click next.
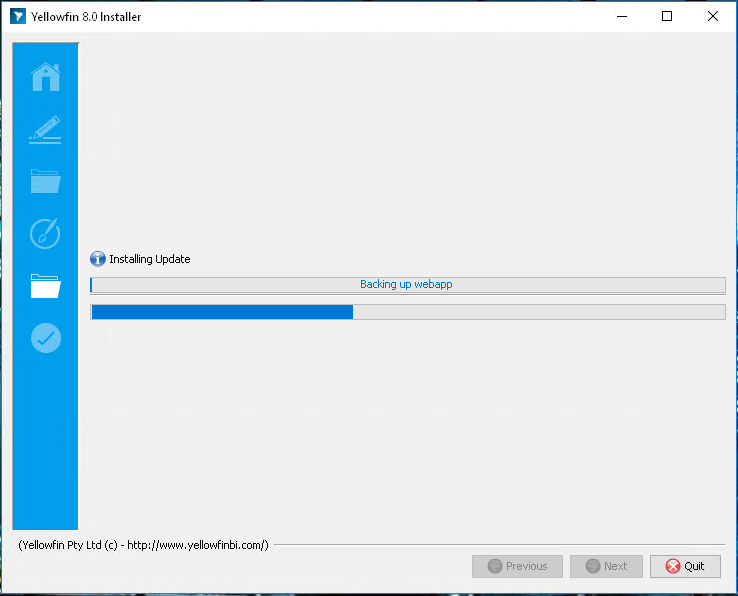
This screen will enable you to observe the progress of the software update. Depending on the server hardware and software capacity this could take a few minutes. You will be able to click Next to move to the next window once the installation is complete.
This screen will be displayed at the end of a successful update of the Yellowfin Application Server.
Click the Done button to complete the update procedure.
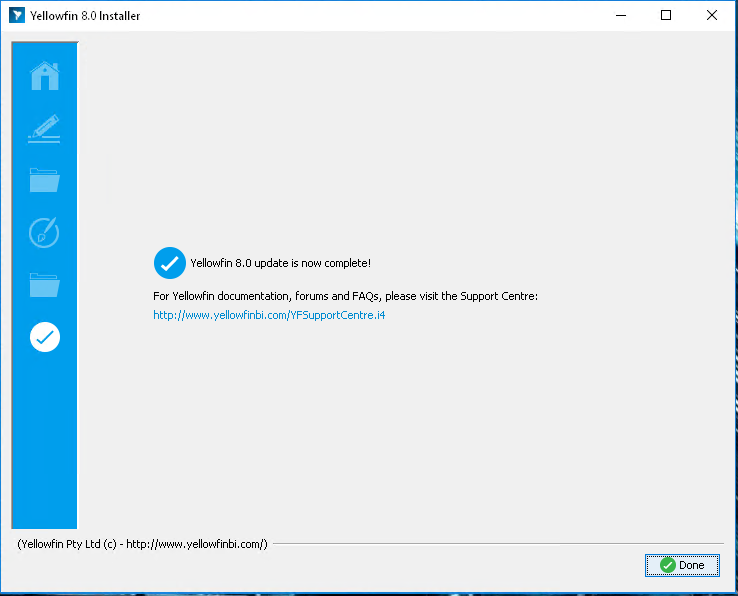
At this stage you can start up Yellowfin as normal. All of your data, settings, and content should be right where you left them.
Upgrading to Yellowfin 9.0 and above
The welcome screen is the first screen in the installation process. It informs you what version of Yellowfin you are updating to. Click the Next button to continue, or click the Quit button at any time to exit the installation process
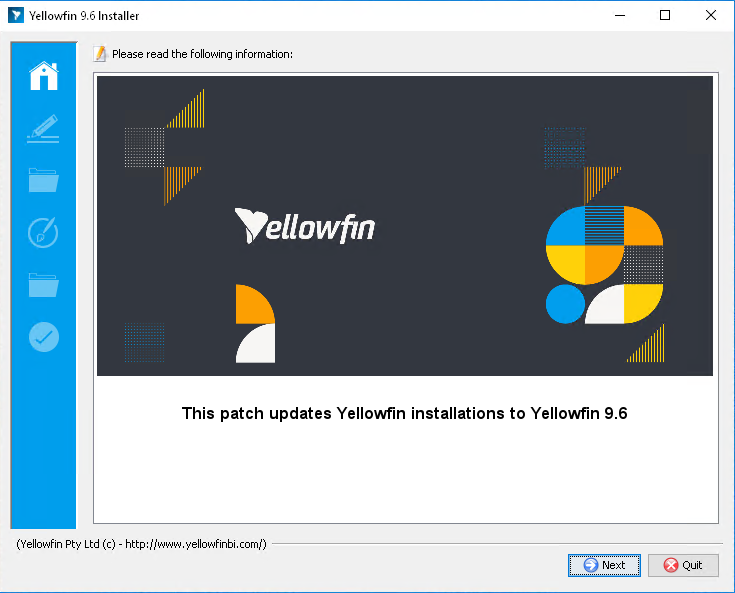
The terms and conditions page displays the Yellowfin Software Licence agreement.
When you have read the licence agreement check the "I accept the terms of this licence agreement" radio button to agree and click the "Next" button to continue.
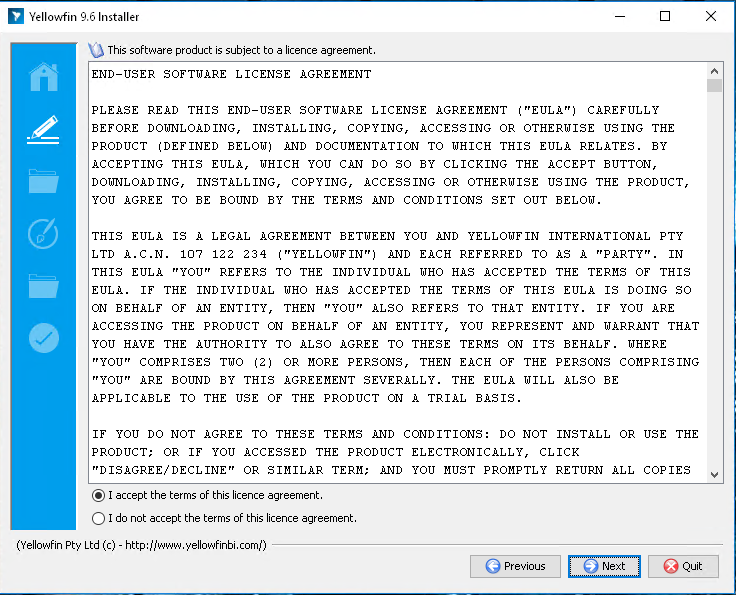
You will have to define the installation directory for your current version of Yellowfin. This will default to different directories based on the operating system you are installing to. When you have chosen your the root folder of your Yellowfin installation click next.
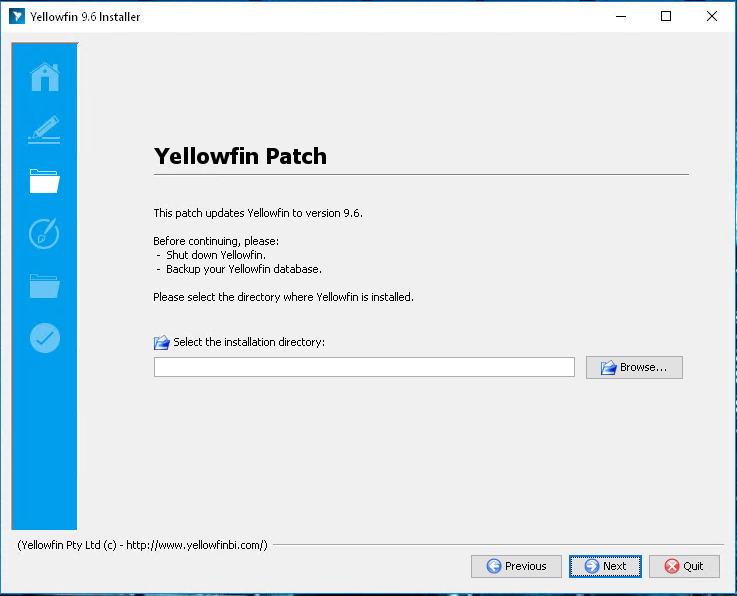
If you are coming from a version prior to 9, you will be presented with the option to apply the new the new defaults for configuration items and charts. For a full overview of these changes, please see the Change Management document for this release here
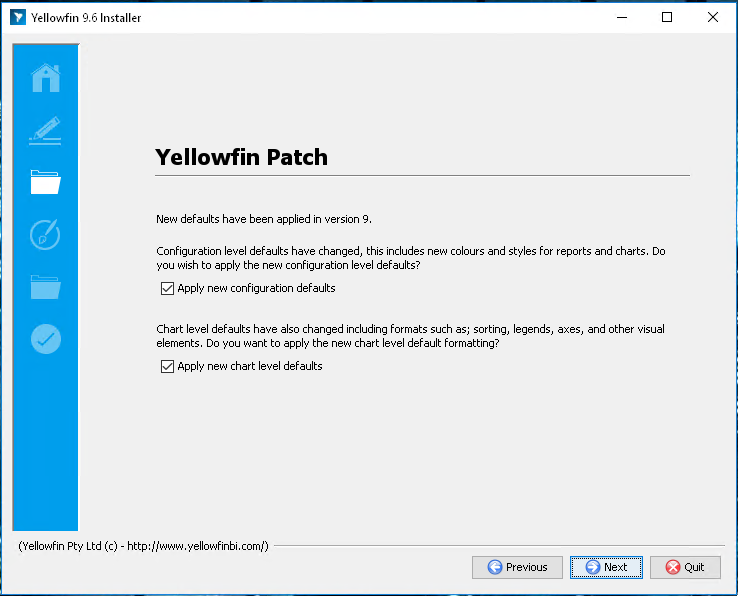
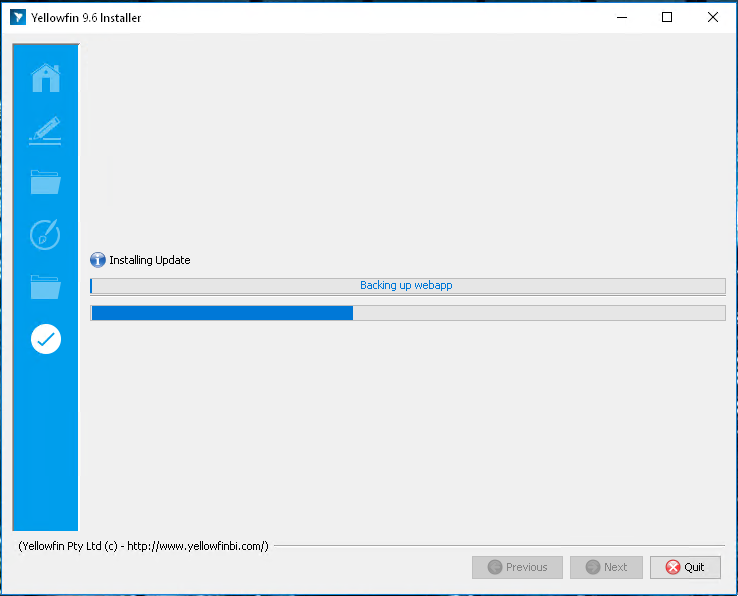
This screen will enable you to observe the progress of the software update. Depending on the server hardware and software capacity this could take a few minutes. You will be able to click Next to move to the next window once the installation is complete.
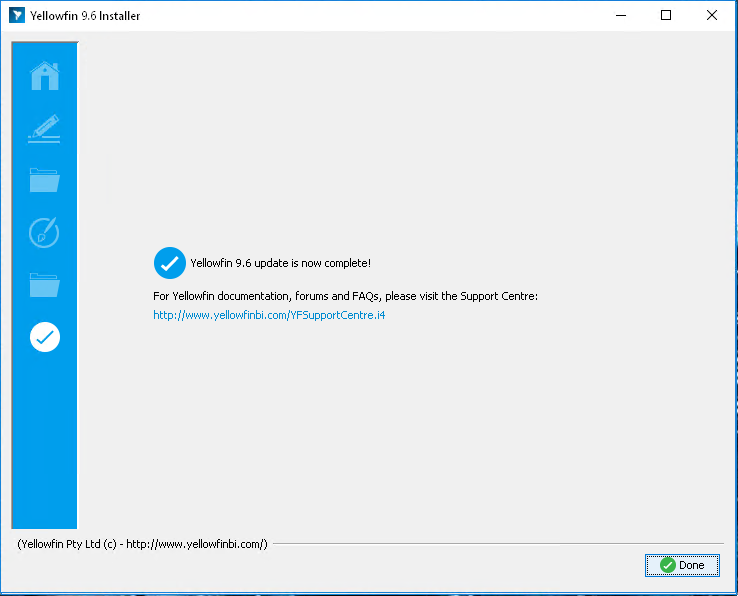
This screen will be displayed at the end of a successful update of the Yellowfin Application Server.
Click the Done button to complete the update procedure.
At this stage you can start up Yellowfin as normal. All of your data, settings, and content should be right where you left them.
What's in an upgrade?
If you want to know what fixes and enhancements are included in a particular release, please see the Release Notes for your upgrade version of Yellowfin on our Wiki
