Who needs this article?
If you've deployed a Yellowfin instance into an external application server in the form of a WAR file, you'll want to follow this article to upgrade your instance. Upgrading is an important part of maintaining a healthy Yellowfin installation.
How do I upgrade?
Yellowfin installations into external application servers require a bit more legwork to upgrade. While this may seem like a daunting task, don't let it prevent you from keeping your software up to date! And as always, follow our Best Practices for upgrading! Backup, deploy test environments, and test test test!
The first step will be to go over to our Latest Builds and download the Update Installer and the Full Installer for the version of Yellowfin you want to update to.
If you remember your initial install, you should have done a full installation to acquire the WAR file that you've since deployed into your application server. If you followed the process linked, you've probably already removed the initial installation directory. Don't worry! If you have, we will re-create it. Note: if you still have the directory, skip ahead to "Upgrading The Yellowfin Configuration Database".
I Don't Have My Initial Installation Folder!
If you've removed your previous directory, go ahead and find a full installation file for your current running version and build. You can find this by visiting your Yellowfin login page in your web browser, and adding /info.jsp to the URL.
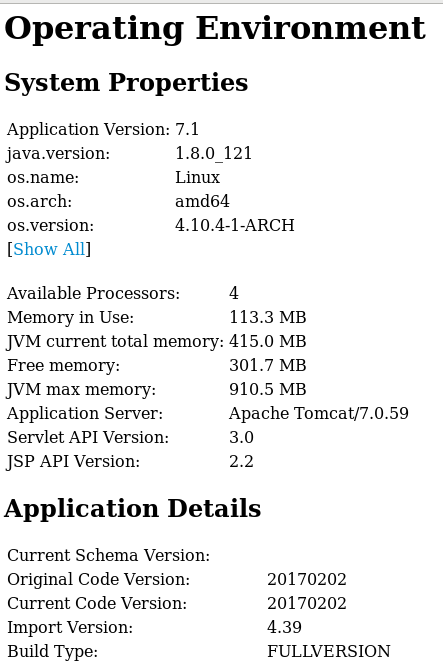
The above information shows my version as 7.1 and my build number (Current Code Version) as 20170202. In order to find an older build of Yellowfin, you'll have to search for the "Master Change Logs" of your version. Do this in the Yellowfin Community. (If you have trouble getting the exact version and build you require, open a ticket here and we'll get you squared away)
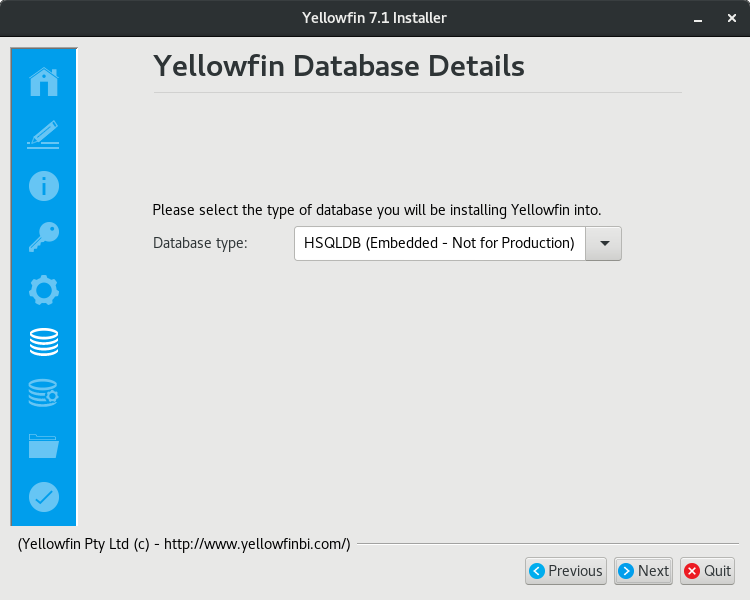
Once you've gotten your full installer, go ahead and perform a full installation using HSQL as the database. This is because we're going to point this installation at your current Yellowfin Configuration Database so we can update the Database.
Startup your new Yellowfin Installation to allow it to perform the initial setup of your install folder.
Upgrading The Yellowfin Configuration Database
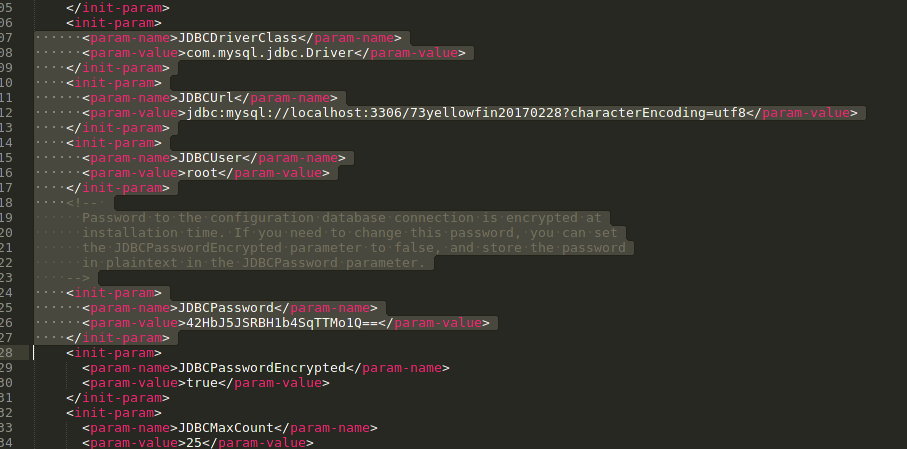
At this point we want to verify that this installation is pointing at your existing Yellowfin Configuration Database.
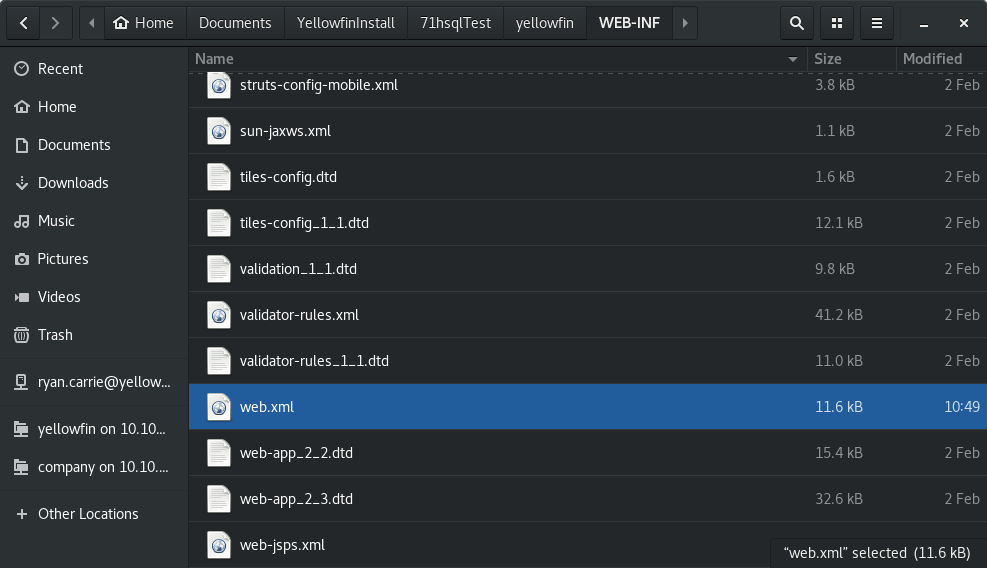
The web.xml configuration file tells Yellowfin where its Configuration Database is.