These instructions primarily cover the Okta specific portions of the SAML bridge connection. For full instructions regarding the SAML bridge, see our wiki page:
http://wiki.yellowfin.bi/display/USER74/SAML+Bridg...
Install the SAML bridge connector (can be downloaded from the Yellowfin marketplace)
- Unzip this file into the Yellowfin webapps folder (yourYFInstallation/appserver/webapps)
- Copy the yfws-xxxxx.jar file from (yourYFInstallation/development/lib) into (YourYFInstallation/appserver/webapps/samlbridge/WEB-INF/lib)
- This allows the bridge to be automatically deployed on startup
In Okta:
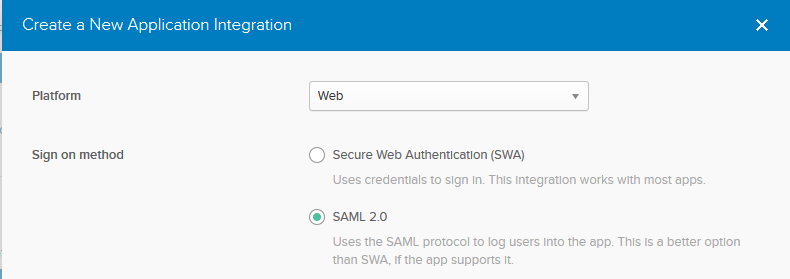
Create a new application. Select “Web” platform and specify the “SAML 2.0” sign on method
- General Settings: Provide the app a name
- Configure SAML:
General settings: This defines Okta’s connection back to Yellowfin. In the example above, the Yellowfin instance can be found at localhost:7474, and the samlbridge application is called samlbridge (the default). You will need to adjust these to point to your own.
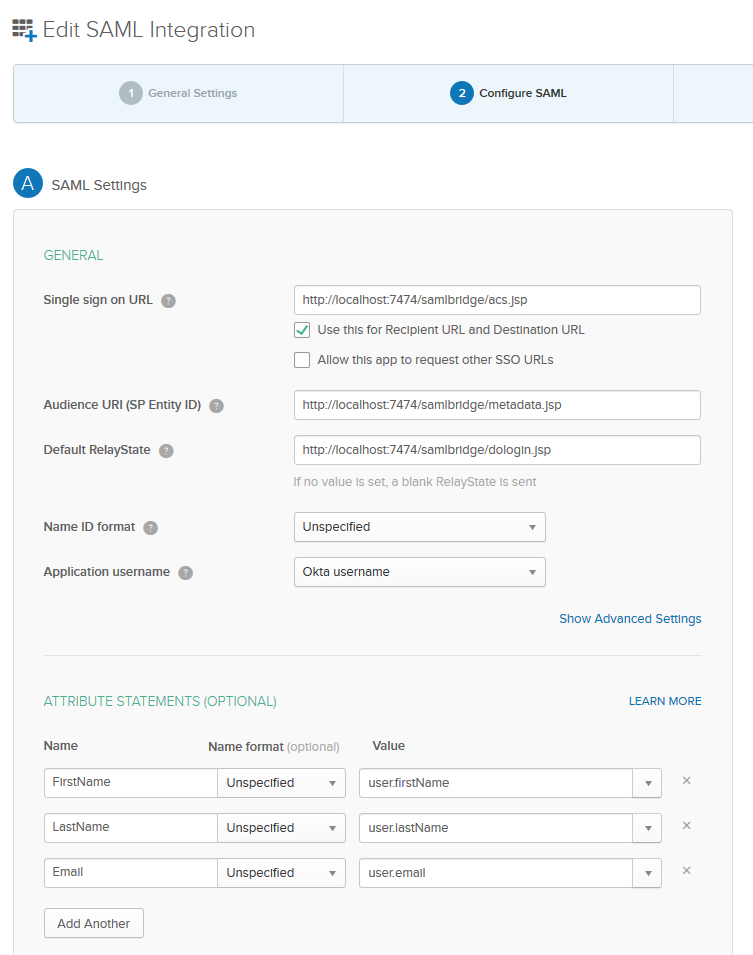
- Single sign on URL- acs.jsp
- Audience URI- metatdata.jsp
- Default RelayState - dologin.jsp
- Name ID format - unspecified by default but can also be configured with emailAddress
Attribute Statements:
These are the attributes that Yellowfin will use when creating/searching for users. See the Yellowfin SAML web.xml configuration below.
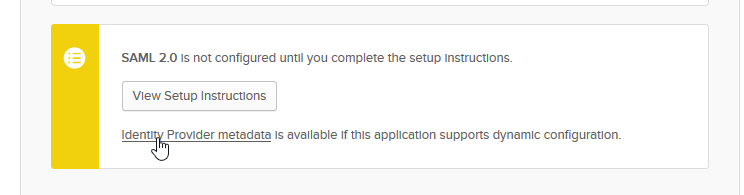
Gather the needed information for the Yellowfin side of this configuration. Click "identity provider metadata" to view the needed information:
In Yellowfin's SAML plugin:
Open the onelogin.saml.properties file (yourYFinstallation/appserver/webapps/samlbridge/WEB-INF/classes/onelogin.saml.properties)
- Fill in the Service Provider(Okta) fields pointing to the Yellowfin instance (these will be the same values provided to Okta
- Fill in the Identity Provider(Yellowfin) fields using the information provided in the "identity provider metadata" page
- For a full example see the attached onelogin.saml.properties file
Open the SAML Bridge web.xml file (yourYFinstallation/appserver/webapps/samlbridge/WEB-INF/web.xml)
- Specify the web-service URL and admin account. The SAML bridge will send SSO and user creation calls to the primary Yellowfin application using these credentials.
- Match the user parameters to those specified in the Attribute Statement section of Okta (you will use the alias provided rather than the underlying value)
- For a full example see the attached web.xml file
Logging into Yellowfin:
Once a user has been logged into Okta they simply need to be directed to the dologin.jsp page (or click the visit app button within okta). Using the above example:
http://localhost:7474/samlbridge/dologin.jsp